
Many people have asked me how I create these style roses so I will share what I do. However the key is to practise and continually keep using the skill and then you'll find it'll evolve naturally for you and you'll create your own 'rose' style.
Equipment
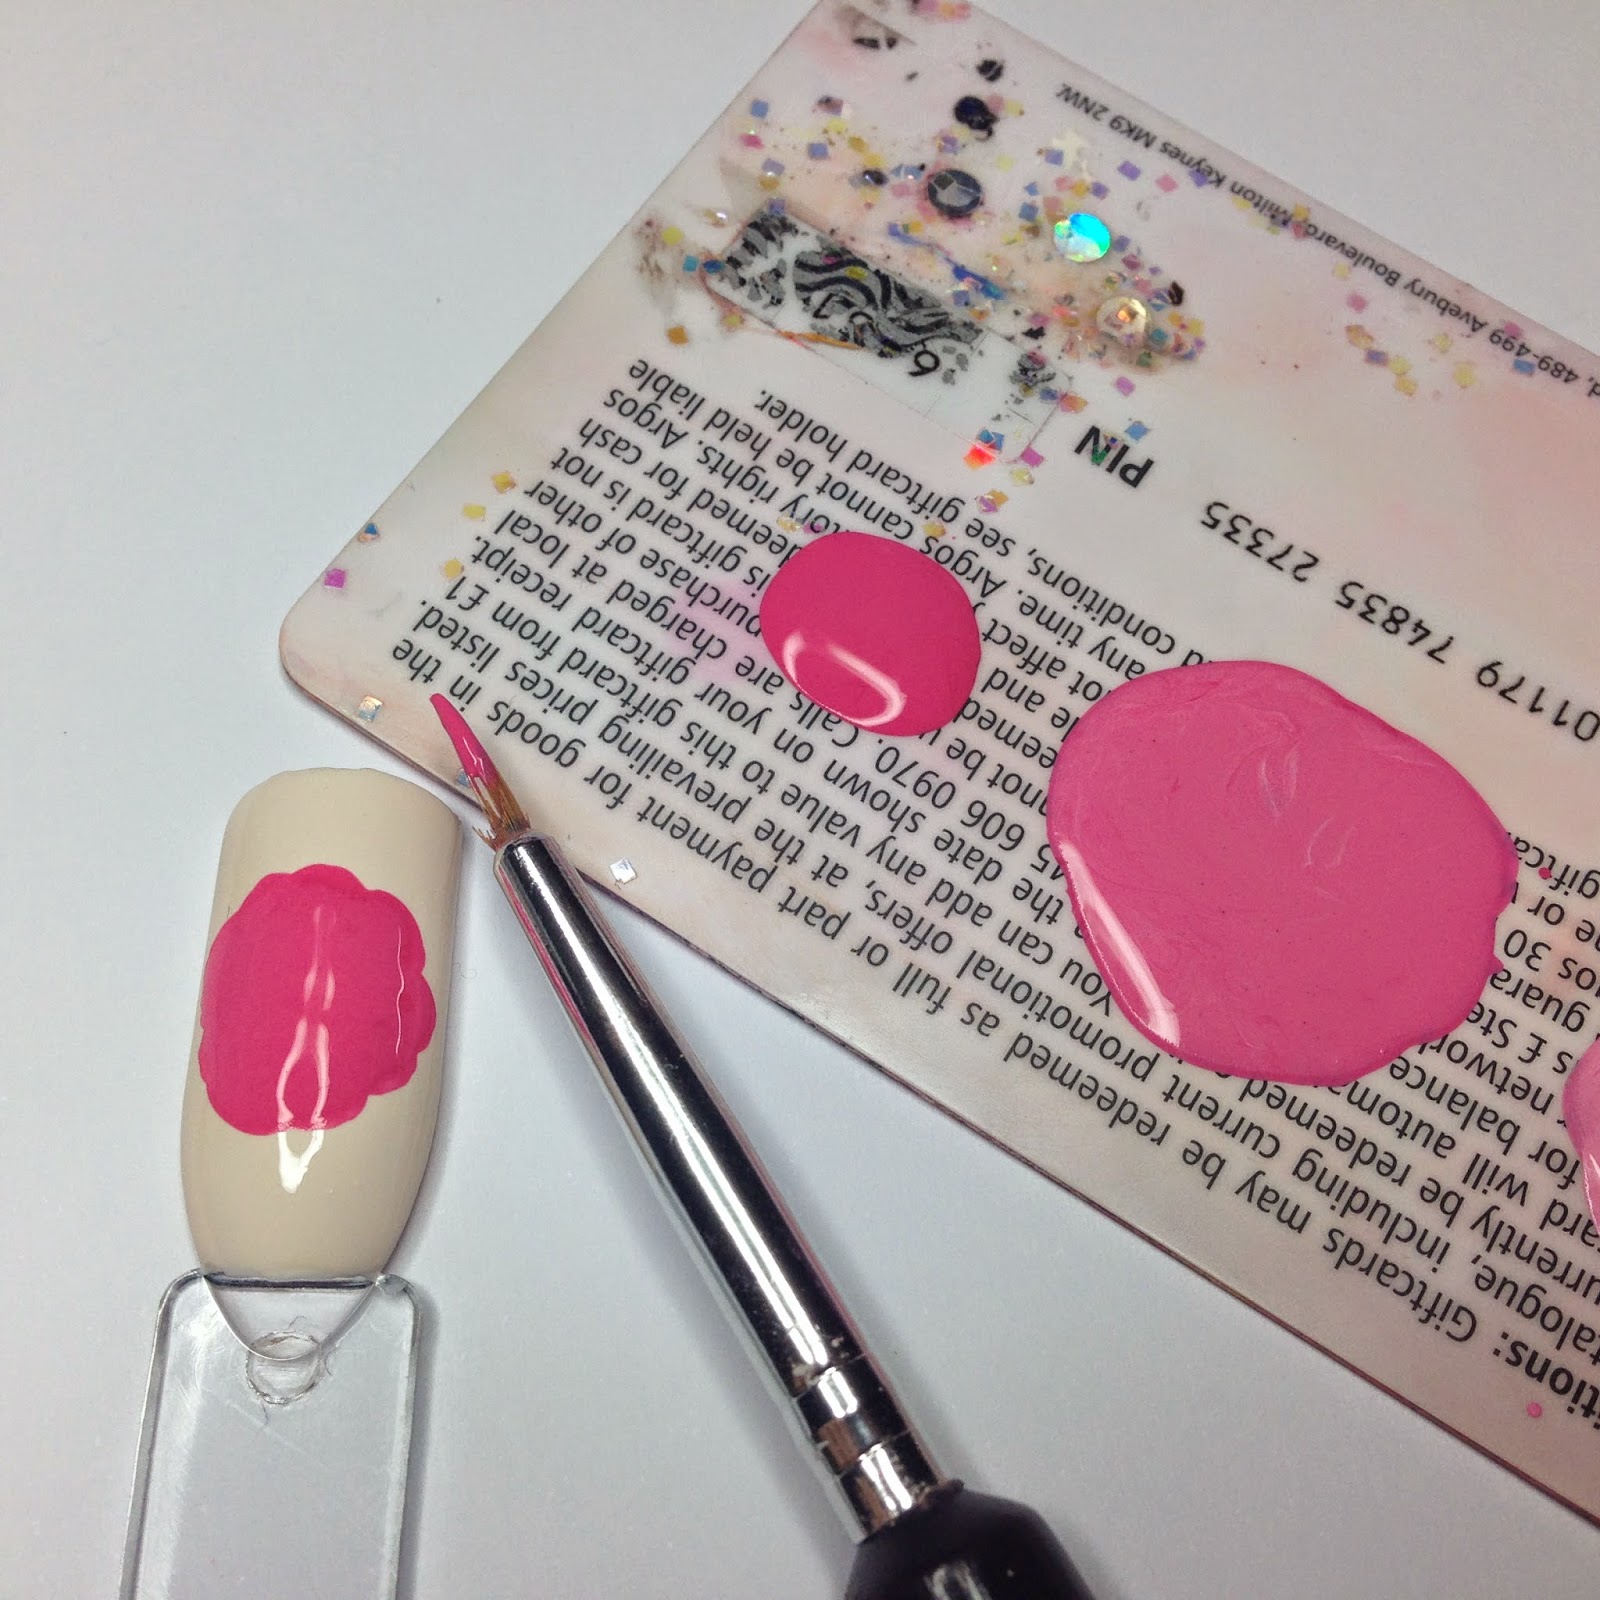
Brush,
Nails painted in base colour,
Pot of water,
Paper towel,
Acrylic paint - 1 coloured, 1 white. Use the coloured as your dark tone, and then create 2 lighter tones using the white.

I tend to use acrylic paints.
1 - because I can easily mix up the 3 different shades needed to create the roses.
2 - because the paint doesn't dry out and become gloopy so you can easily go back to it for up to an hour with a little addition of water to loosen it up.
3 - nail polish can be a fiddly medium to work with and I find paint a lot smoother, I can get thinner lines and therefore more detail.
However if you don't have acrylic paints find 3 shades of polish in varying tones and use them, example below.

First step is to create a rose shape using the darkest tone pink. It doesn't matter at this stage if you don't like the shape, it's only a base to work on.
Always clean you brush in water and dampen and excess off on a paper towel before using a different colour. The key is to create contrast within the design to make it look like they're petals.

Then, using the lightest toned pink you add a dot into the middle of the rose (see pic 1).
Either side you draw half moons/semi circles (see pic 3).
The you create larger semi circles but rotated (see pic 4).
Then shape out some rough petal designs along the edge of the rose (see pic 5).
Now using the mid toned pink, lightly trace underneath all the light tone semi circles (see pic 6).
As paint keeps its moisture you can now use a slightly we brush to start mixing the 2 lighter pinks together so it blends (see pic 7).
Final step in creating the rose is to get tiny amounts of your base, dark coloured pink and re define the rose using the same steps in pic's 3 - 5. You may want to also keep using little bits of the lighter paint to re define the shapes created above so that it's clear where the petals are. This stage takes the longest for me (see pic 8).
Then if you want you can add some small green leaves and you're done (pic 9).
Hope this has helped some people, I know we all want our nails to look beautiful and I have to say, whatever the base colour or pattern, there are few mani's that a rose can not improve.
Have fun painting and let me know if you have any questions.


.jpeg)


.jpeg)


ليست هناك تعليقات:
إرسال تعليق